
So you own a Defender or a similar ‘small’ car in which you like to camp maybe longer than just a weekend? In that case, you need a proper kitchen, or at least we think so. In this post we will explain how we build our extendable kitchen box.
As you might know, we are about to travel around the world and whilst coming up with our build the question arose where to put our kitchen. As we didn’t have any plans for a pop-top back then, and a Defender does not give a lot of room nor headspace, we decided we want to cook outside as much as possible. We are camping after all. Some people use a so-called ‘kitchen box’ which simply means a box with all your kitchen stuff that you get out of your rig and unpack. We tried this for 3 weeks one summer and weren’t sold on the idea. We needed something more fixed and elaborate, that does not involve us packing all of our stuff up everytime. So we came up with our extendable kitchen unit.
Our kitchen drawer is based upon 3 components that we deemed most important:
- Fridge: Dometic CDF36
- Stove: Coleman 424
- Movement: Drawer slides
Considerations
First, we decide on which side we wanted to have our outside living room and kitchen. As the safari door of our Defender opens backwards to the right, the natural movement of getting in/out of our indoor –> outdoor living space flows to the left side of the car. We have a 5-door Defender 110, so the easiest approach was to use the left rear passenger door as the point of access for the kitchen drawer. That might be different in your case so take your time to consider different scenarios and do some trial runs.

How to build it
Know your space
We now measured how much space there is behind the driver seat. When you measure place the seat all the way to the back and be aware that depending on how high you make the closet/box the width behind the driver seat will change. The higher the box is the less space you have, as a car seat is tilted to the back.
Know your Gear / Storage Needs
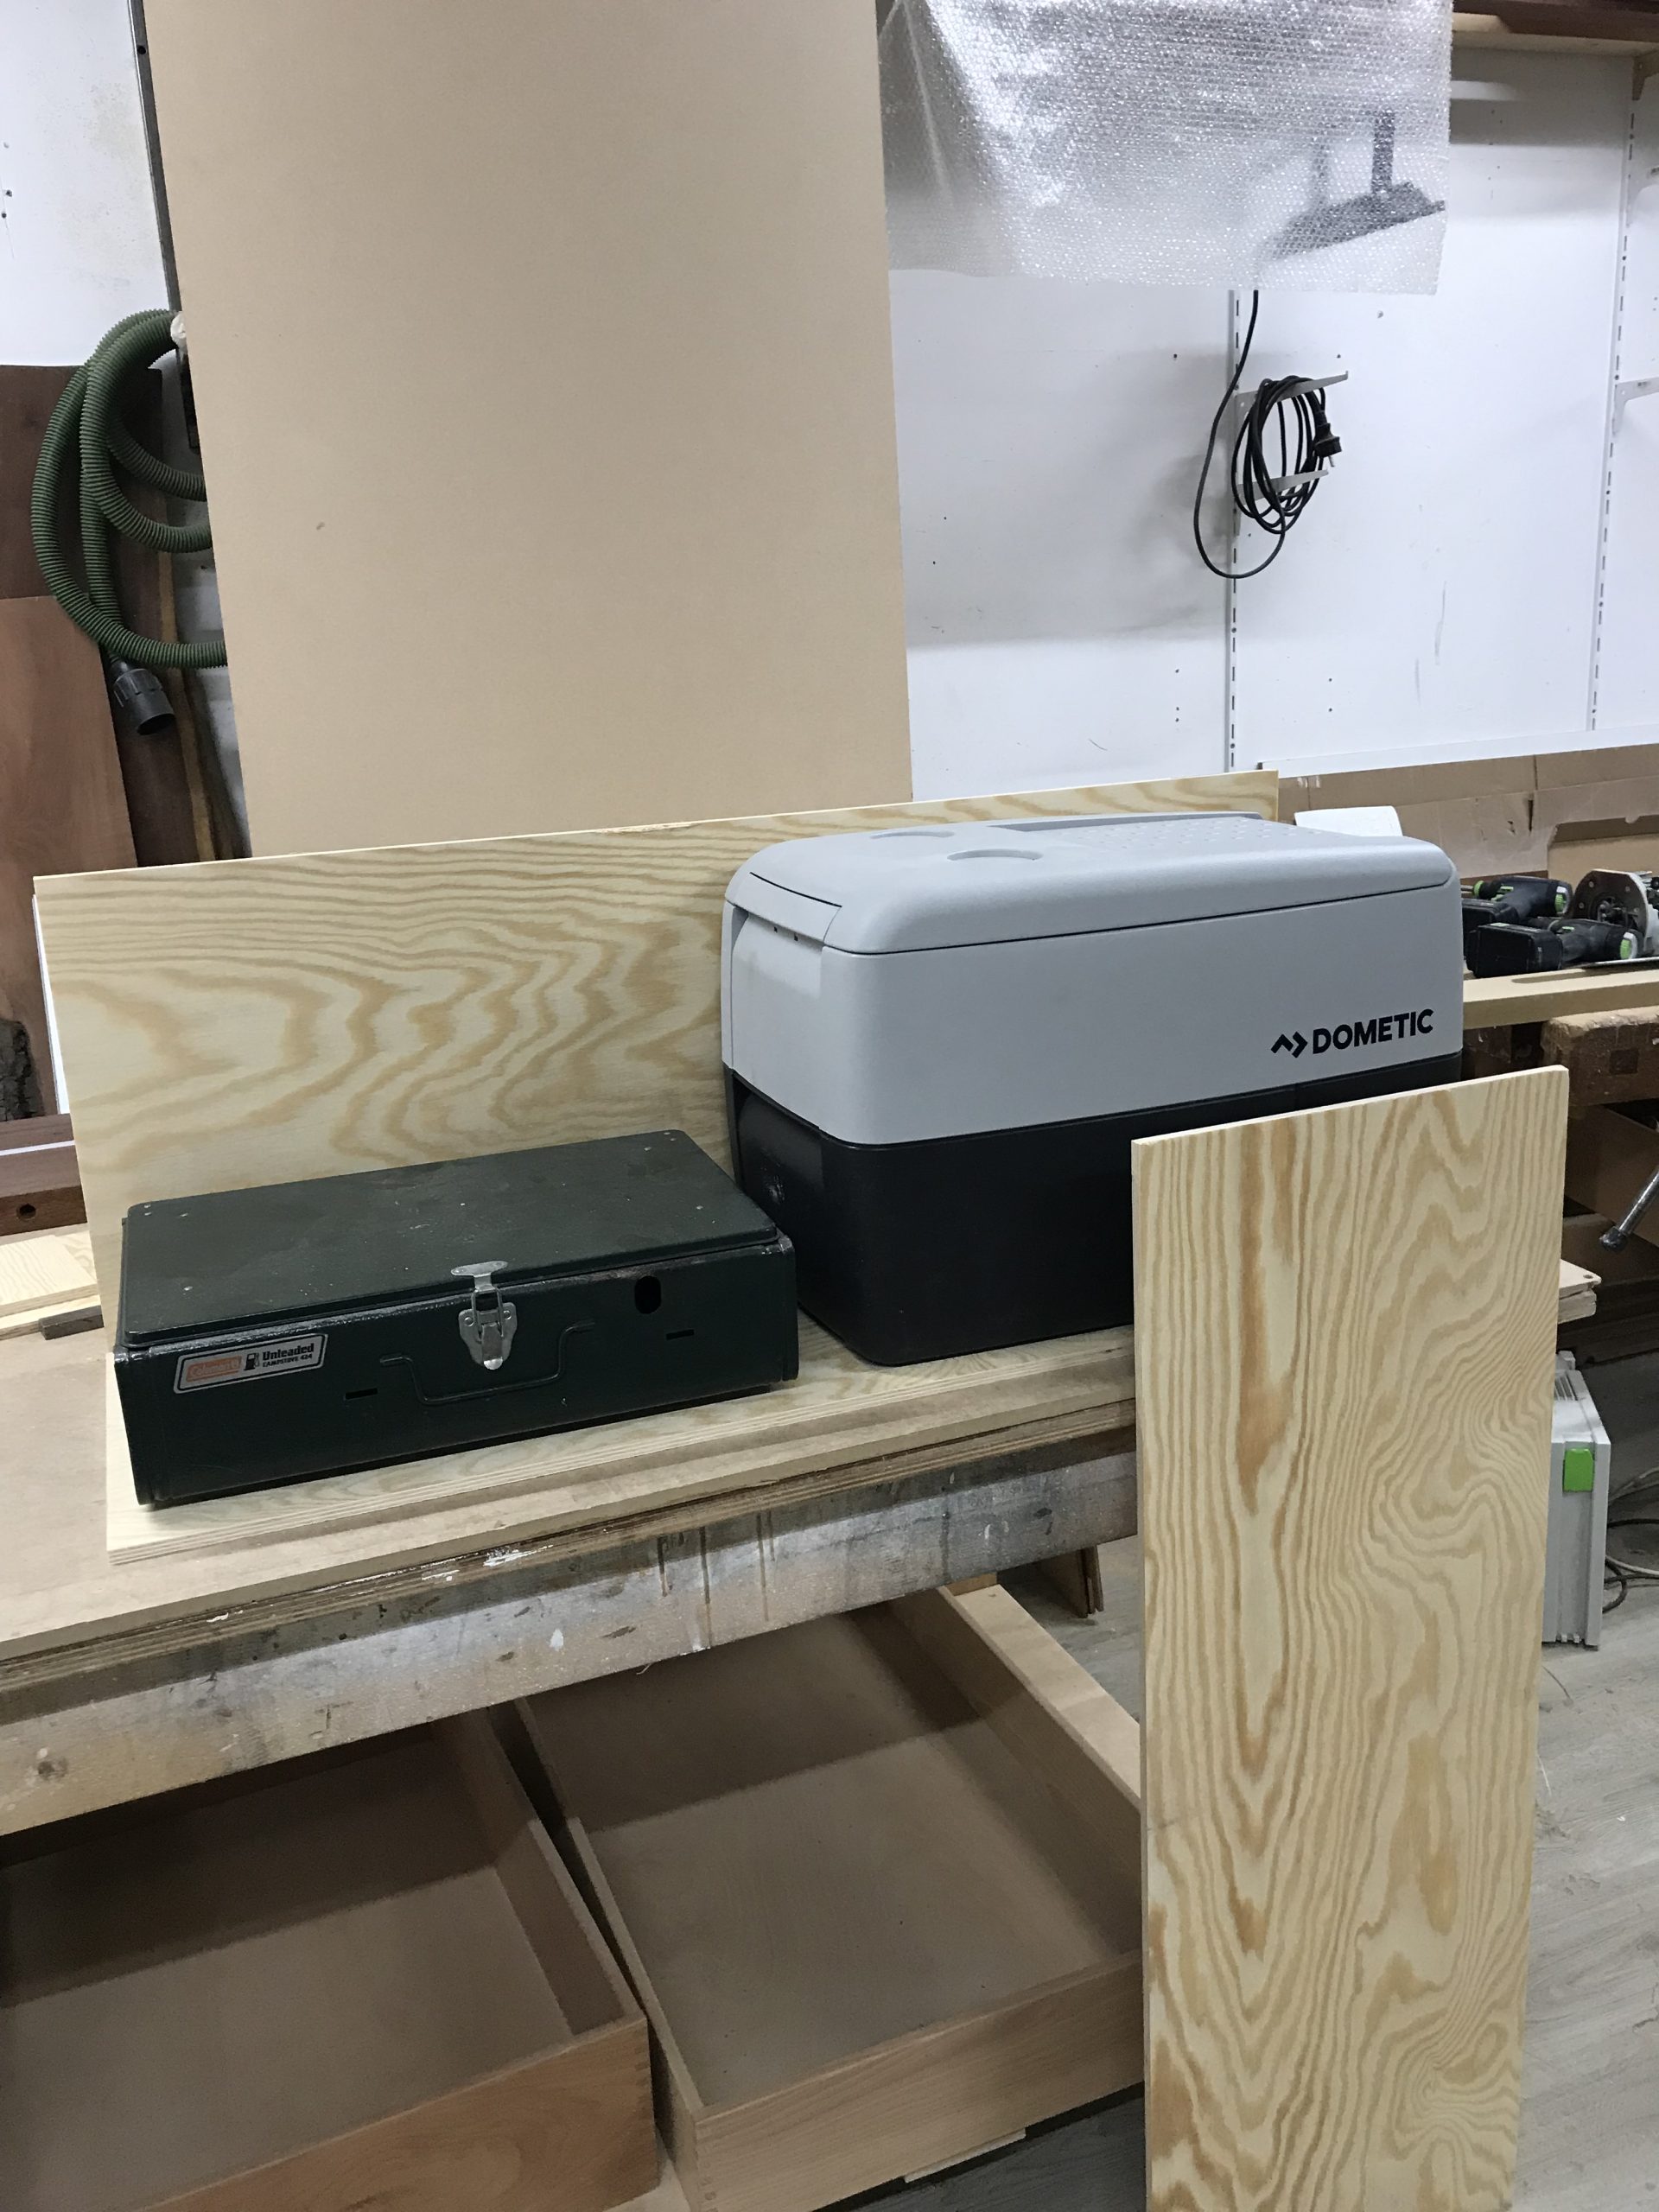
With our width, height and maximum depth known, we looked at what gear we wanted in the kitchen. As said earlier we chose the Dometic CDF36 and a Coleman 424. For the choice of fridge, the requirements were: Content of around 30L, quality, price and it needed to fit in the available space. The Dometic CDF36 met all these requirements so we bought it.
For the stove, we needed something that could run on fuel available throughout the world. Coleman has a great reputation so the decision was easy and we managed to source a secondhand 424 model. When you know all your dimensions, both car and gear, make a drawing and define the right length for your gliders. Watch out to order gliders that extend far enough for the fridge to open and consider the entire loaded weight of your box.
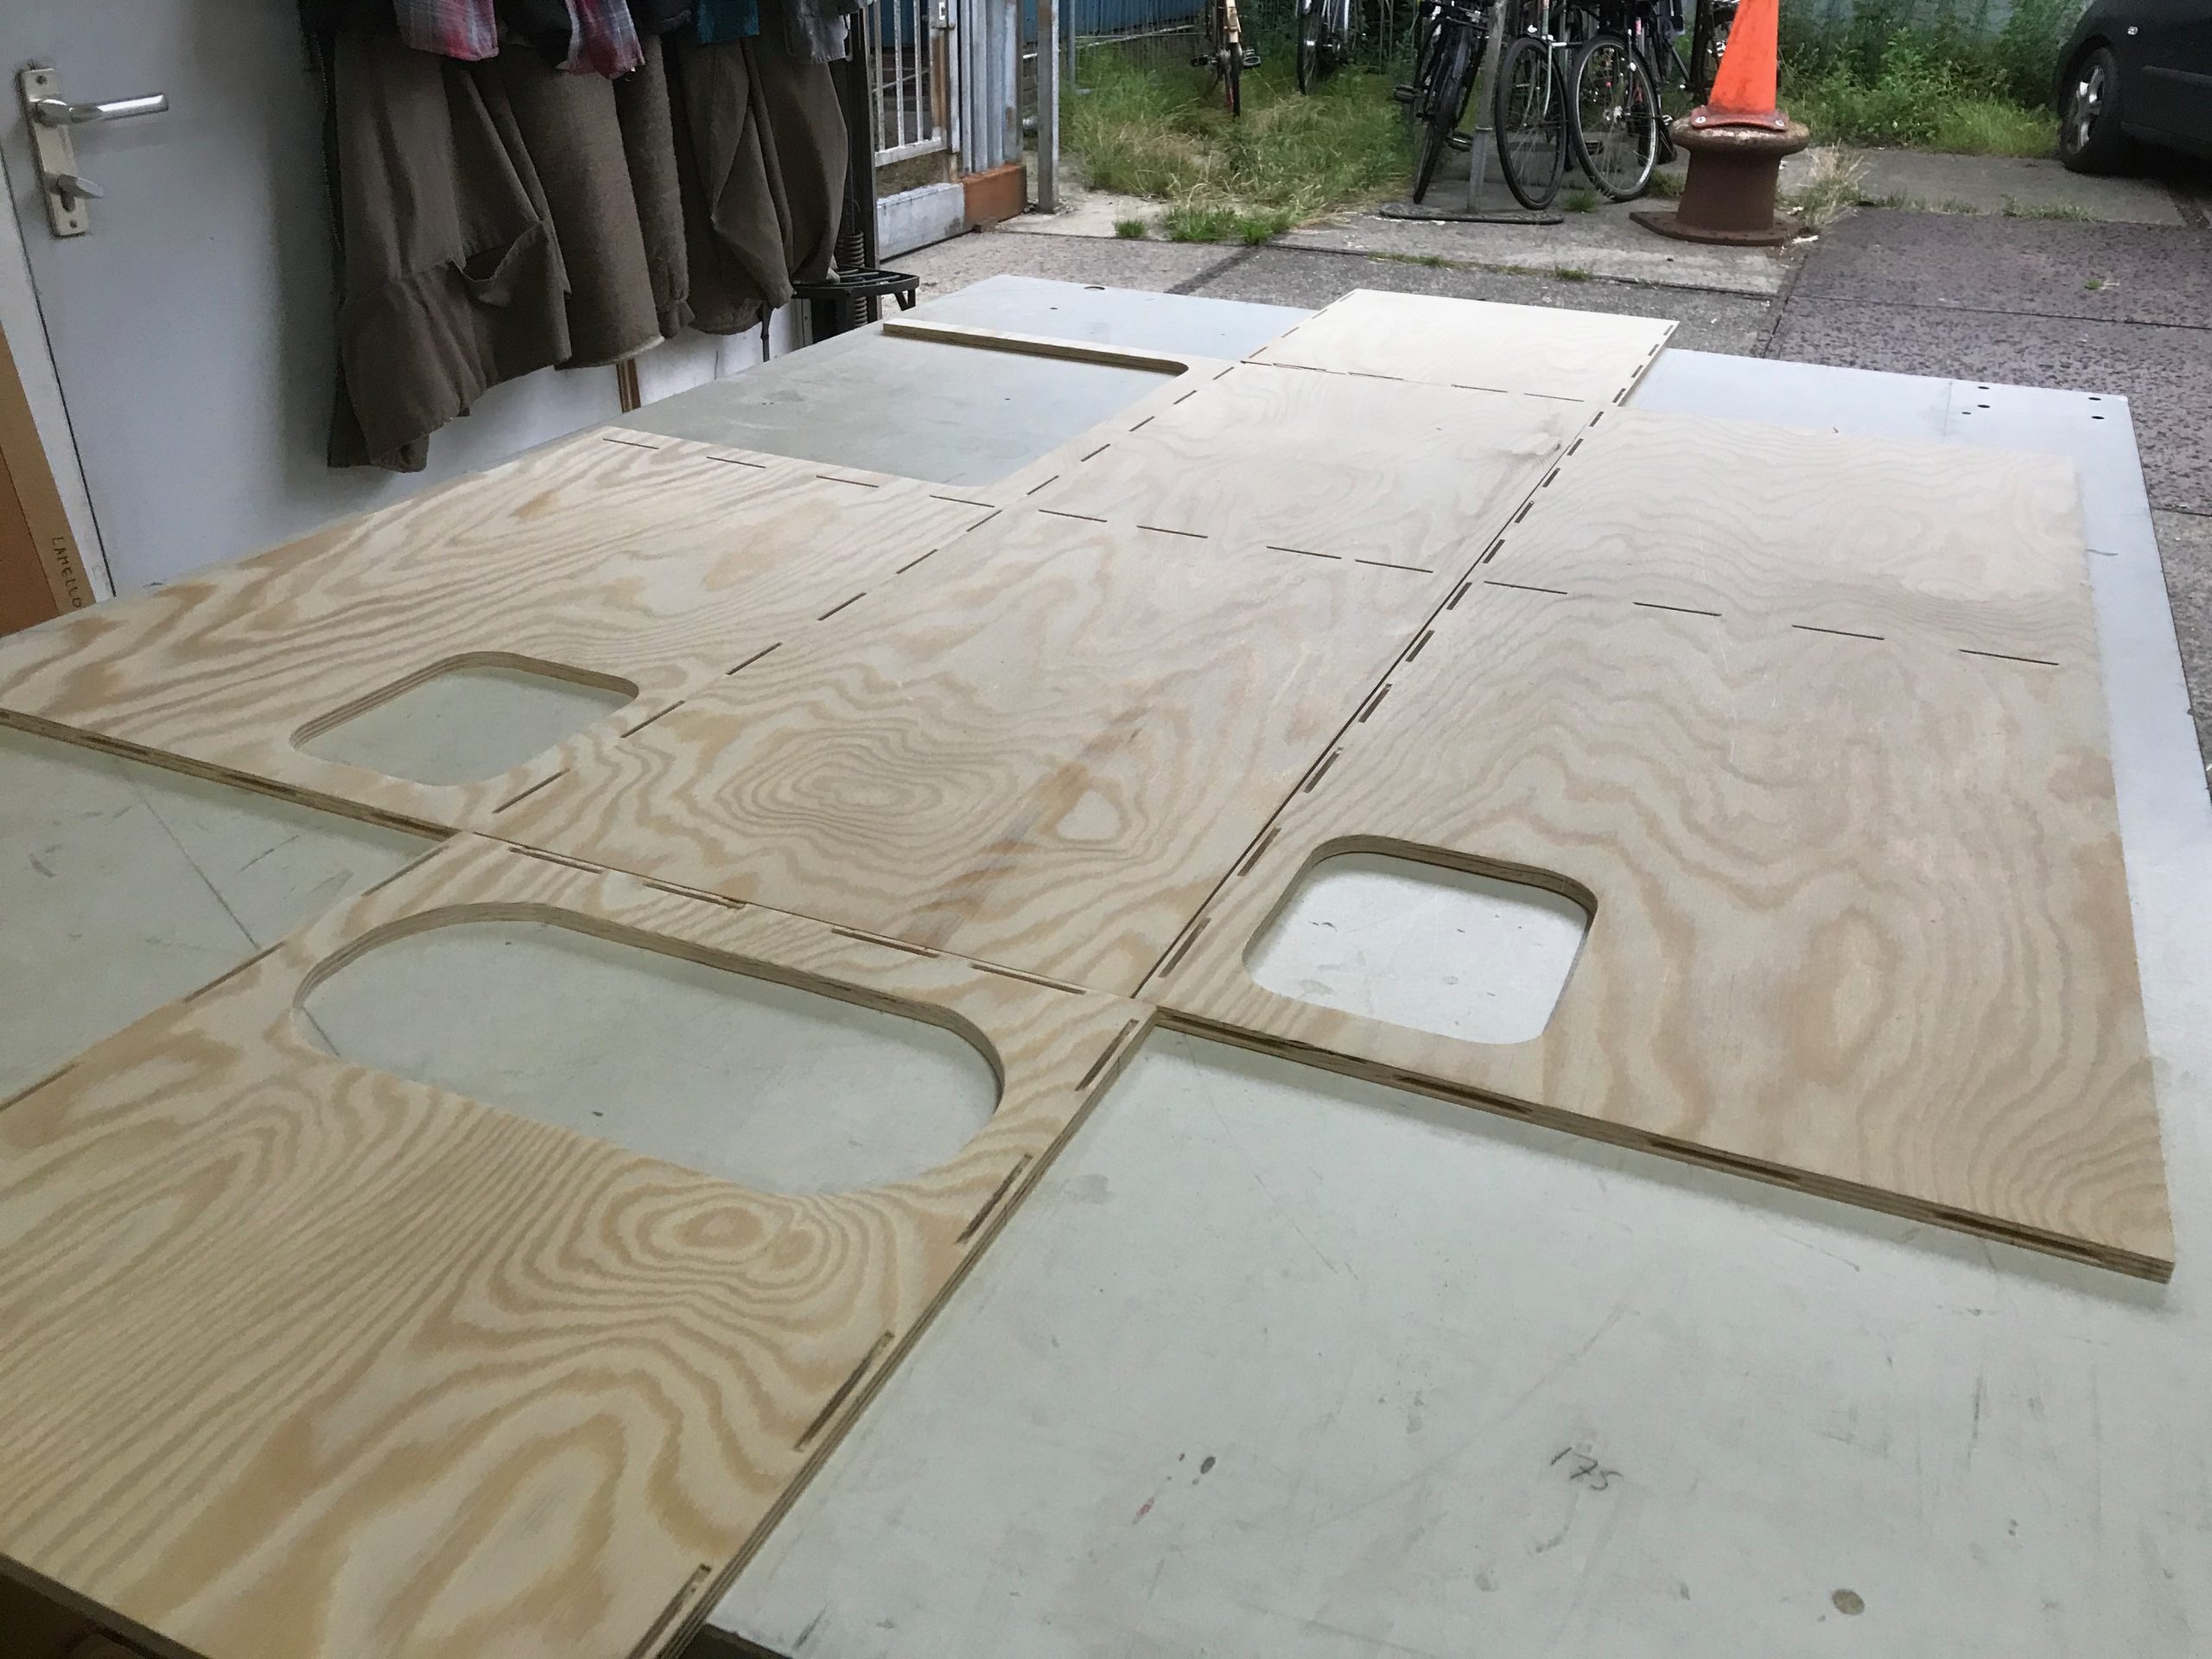
Assemble your Kitchen Box
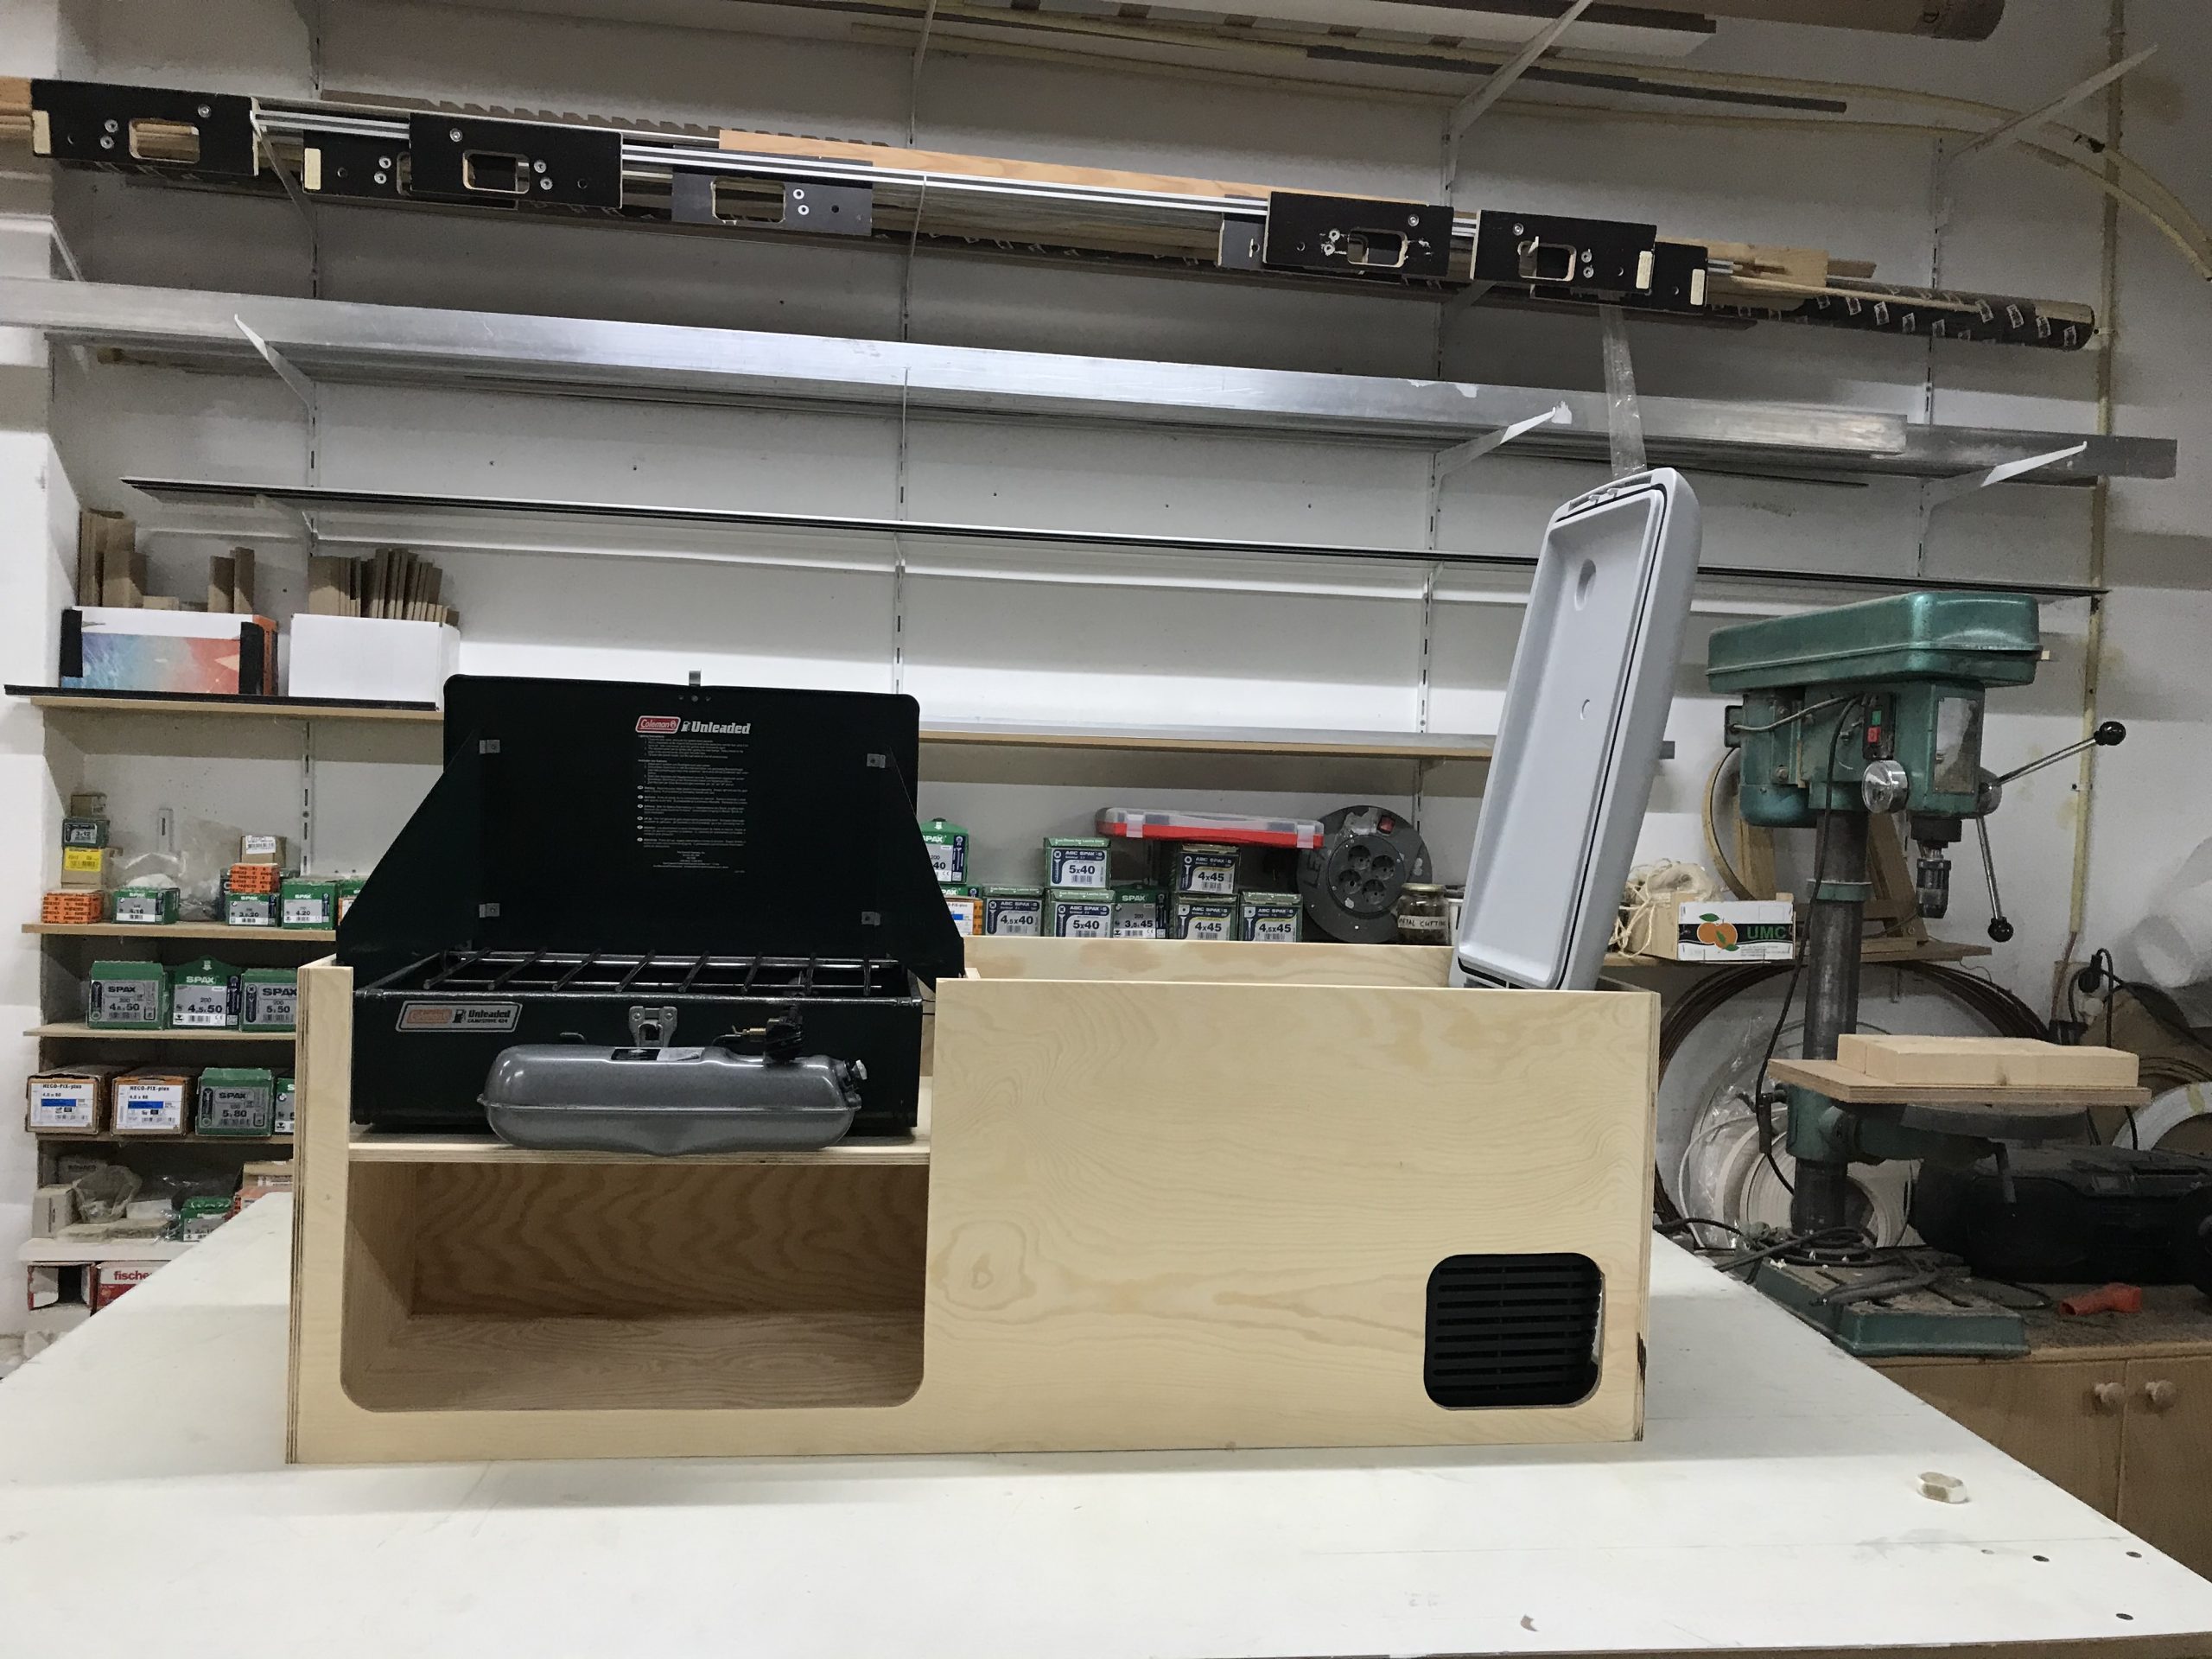
Now it’s time to put everything together. For our complete interior build, we used pine plywood as it’s affordable, semi-lightweight and we like the look. To save space and weight the box is made of 10mm plywood and it is assembled using biscuits (from a biscuit jointer) and glue. You can obviously also use metal corners or other creative ideas, but we have access to a biscuit jointer and we like the cleanness of it. Around the kitchen box we made a bigger box which functions as the drawer’s storage compartment, plus is the bottom of our bed. The slides will also be connected to the vertical ribs of this box, generally speaking most sliders are on the side of their drawer not the bottom.
While cutting your material to size, make some test fits with the fridge and stove in place. After you have the box sizes right, don’t forget to add ventilation holes for the fridge and plan in some free space behind the fridge compartment. When you are satisfied with your kitchen box, assemble it, put laquer on for protection and install it in your car!
Some advice
- Weigh your entire box including utensils (a full fridge, filled pot on the stove etc.) before ordering drawer slides to ensure they are capable of holding your load. If in doubt go with the heavier option, you don’t want your sliders to break down whilst your cooking dinner for friends.
- Check the length of your kitchenbox, and the amount you want it to slide out of your car, and buy your slides accordingly. To get our box out far enough, we needed to buy slides that were longer than our actual box.
- Ensure that your box can lock in position when closed, so that it won’t slide around when going through curves whilst driving, we used a simple door bolt. We also have a sliding bolt for when the box is entirely extended and the car is parked sloping to the right. This way the box won’t slide-in by itself whilst cooking.
- For Defender owners: We attached the right drawer slide against the alu body (where in a 5 door Defender110 normally the heels of the rear passengers are). We drilled holes through the aluminum body and put 3mm thick plates behind to create extra support for the bolts.
- Our slider only slides out when the driver seat is pulled to the front, a compromise we were willing to make to be able to fit a bigger fridge. There is no point in sliding out a kitchen drawer whilst driving anyways, so we are happy with this decision.
We are curious about your kitchen ideas! Please let us know your ideas in the comments. Also, if you have questions please ask them in the comments. Other readers might find them useful as well!